cPanel安全自动设置脚本KalluscPHarden
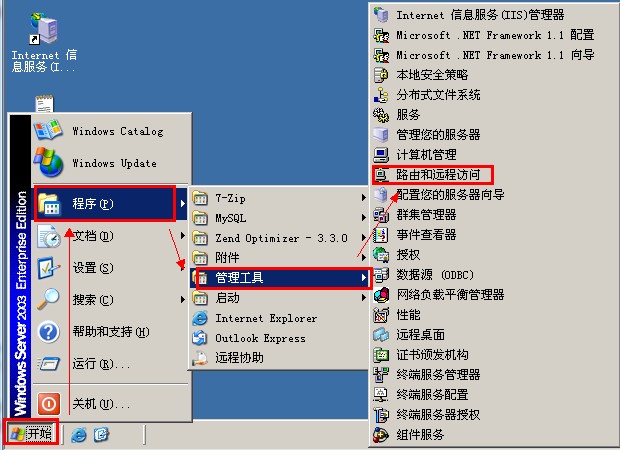
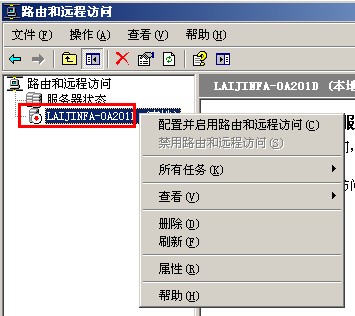
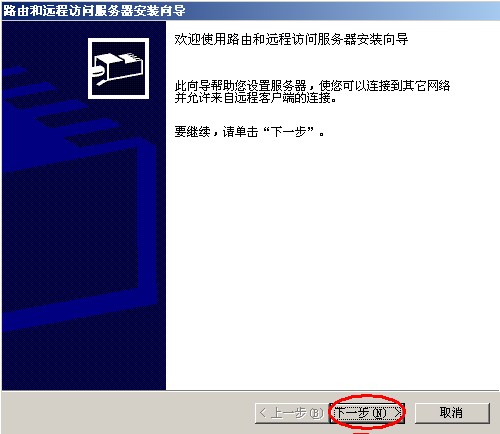
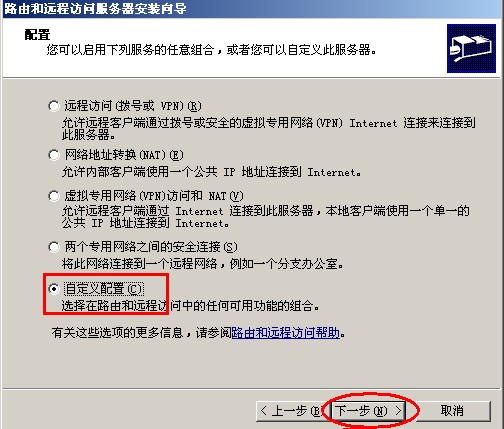
安装教程
cd /usr/local/src
wget http://techsware.in/downloads/harden.sh
chmod 755 harden.sh
./harden.sh
1:什么是KalluscPHarden?
答:KalluscPHarden是一个shell脚本,基于cPanel服务器安全加固、检查。
2:会为cPanel做什么?
答:改变调整设置,密码修改强度,后台进程检查,编译器的访问安全,Shell Bomb Fork保护等设置....
3:有什么额外的应用程序将安装到服务器?
答:CSF,CMM,CMQ,CMC,Maldet,Rkhunter,Linux Socket 监控,Linux的环境安全等
4:服务器会有哪些地方被调整/加固?
答:Apache,cPanel,FTP,SSH,MySQL,CSF,PHP等
5: What additional hardening steps it does ?
Ans : TMP hardening, Logrotate hardening, Daily Rkhunter scanning, rDNS Check, Disable unwanted processes, SYN FLOOD Kernel Tweak, etc
6: How to recover the old configuration, before running this tool?
Ans : All configurations will be backup as conf_file.beforetweak before making changes to it. So you can compare the configurations in you want to check anything.
7: Any more tweaks it do ?
Ans : Check change log for recent changes to the script
8:这个脚本多少钱?
答:它是完全免费的。
9:想知道更多?
Ans : Please feel free to reach me at kallu[at]techsware.in
官方主页:http://techsware.in/kcpharden.html

